How Do You Pack a Home Office Without Losing Your Setup?
Pack your workshop for moving without losing your system. Tools, power equipment, hazardous materials, and sorted hardware all need care.
Knowing how to pack a workshop for moving is one of those tasks that looks manageable on the surface — right up until you pull open the first drawer and realize you have been collecting tools, hardware, and half-finished projects for years. A workshop is not like a bedroom or a living room. The furniture is not the hard part. The hard part is the wall of pegboards holding sixty tools in an arrangement only you understand, the shelving units dense with jars of screws sorted by size, the power tools that are heavy, oddly shaped, and worth serious money, and the workbench that has probably not moved since the day it was installed. It does not have to go that way.
If you would rather have experienced professionals handle the heavy lifting while you focus on keeping your household running, call our team at 719-357-9048 to lock in your move date.
Whether your workshop is a fully outfitted garage space with a table saw, drill press, and dedicated lumber storage, a basement woodworking studio lined with cabinets and a dust collection system, or a compact hobby workbench in a spare room with a collection of hand tools and supplies — the strategy below will walk you through every category, from your heaviest equipment to your smallest hardware, so everything arrives safely, organized, and ready to get back to work.
Why Packing a Workshop Goes Wrong More Often Than It Should
A workshop is one of the most consistently underestimated packing challenges in any household move. The space looks utilitarian — tools hang on walls, supplies sit on shelves, everything seems like it just needs to be put in boxes. That impression is misleading. Workshops are extraordinarily dense with items that are hazardous to pack incorrectly, expensive to replace if damaged, and genuinely difficult to reassemble at the destination without a clear system.
Three specific patterns cause the majority of workshop packing failures:
- Treating tools like ordinary household items — Power tools, hand tools, and sharp blades cannot be tossed loosely into boxes the way books or kitchen items can. Blades damage packing materials and the people unpacking them. Motors and precision components can be knocked out of alignment by impact. Tools that arrive jumbled and scratched are tools that may not work the way they should.
- Ignoring hazardous materials until the last minute — Workshops routinely contain flammable liquids, aerosol cans, partially used solvents, and lithium-ion batteries in power tool packs. Moving companies are legally prohibited from transporting many of these items, and packing them alongside other belongings creates a genuine safety risk. These materials need to be identified, assessed, and dealt with well before moving day.
- Losing the system that made the workshop function — The layout of a workshop is not arbitrary. Where tools hang, how hardware is sorted, and what lives within arm's reach of the workbench reflects a working system that took time to build. When that system is dismantled without documentation, reassembly at the new space becomes a multi-day frustration project rather than a straightforward setup.
The solution is to treat your workshop as the specialized space it is — not just another room to box up, but an organized professional environment that deserves a deliberate, category-by-category packing approach.
How to Start: Photograph and Document Before You Touch Anything
Before you remove a single tool from a pegboard or empty a single bin of hardware, spend twenty to thirty minutes documenting the workshop exactly as it currently exists. This step is not optional — it is the foundation of a successful workshop reassembly.
What to photograph
- Every wall, pegboard, and tool storage panel from multiple angles
- Each labeled drawer, bin, or cabinet, opened so the contents are visible
- The workbench surface and the area immediately around it
- Power tool setups with any attachments or jigs in place
- Cable and cord routing for fixed equipment like dust collectors or air compressors
Store these photos somewhere you can access on your phone during the move — not just on a hard drive packed in a box. They will save you hours of guesswork when you start setting up in the new space.
Create a rough floor plan for the new workshop
If you already have a sense of the space you are moving into, sketch a rough layout before you pack. Knowing where the workbench will go, where the primary tool storage will live, and where outlets and lighting are located will help you pack with the new setup already in mind.
Packing Hand Tools: Organization First, Protection Second
Hand tools are the backbone of most workshops, and they are also among the most straightforward items to pack — provided you approach them systematically.
Sort before you box
Use the move as an opportunity to assess your hand tool inventory. Sort tools into three categories: tools you use regularly, tools you use occasionally, and tools you have not touched in years. The third category is a candidate for sale, donation, or disposal before the move. Fewer items moving equals less to reassemble at the destination.
Protect cutting edges
Any tool with a blade — chisels, plane irons, saw blades, utility knives, marking knives — needs its edge protected before packing. Use blade guards where you have them. Wrap unguarded edges in cardboard and secure with tape. Never pack sharp tools loose where hands will reach in without looking.
Group by category, not by size
Pack measuring tools together. Pack striking tools together. Pack layout and marking tools together. This grouping mirrors the organizational logic of most workshops and makes unpacking and reshelving significantly faster than randomly sized boxes of mixed items.
Use sturdy, appropriately weighted boxes
Tools are dense. A medium-sized box packed with wrenches and pliers will be extremely heavy. Use smaller boxes for dense metal tools and save larger boxes for lighter items like clamps, levels, and extension cords. Label every box with contents and weight category on the top and at least one side.
Packing Power Tools: Safety, Protection, and Documentation
Power tools represent a significant financial investment and require more care than hand tools during a move. The goal is to protect the tool itself, protect the people handling it, and ensure you arrive at the destination knowing exactly what you have and where it belongs.
Use original packaging where possible
If you have kept the original cases or boxes for your power tools, moving day is the moment that habit pays off. Original packaging is designed specifically for the tool's dimensions and weight distribution. If original packaging is not available, a sturdy box with at least two inches of padding on all sides — foam, moving blankets, or tightly crumpled packing paper — provides a reasonable substitute.
Remove batteries before packing
Remove all battery packs from cordless tools before loading them on the truck. Lithium-ion batteries should be packed separately in a cool, dry location — ideally transported in your personal vehicle rather than the moving truck. Check with your moving company about their specific policies before packing day.
Secure cords and accessories
Wrap power cords loosely and secure them with a twist tie or Velcro strap — never wrap them tightly around the tool body, which stresses the cord at the connection point. Pack any included accessories, bits, blades, and attachments in a labeled bag taped to the tool's box so nothing goes missing.
Large stationary tools need special handling
Table saws, band saws, drill presses, lathes, and similar stationary equipment are in a different category entirely. These tools are heavy, often require disassembly, and may need to be secured with specific tie-down points during transport. If you are working with a professional moving company, discuss these items during the quoting process so the team arrives with the right equipment and enough hands.
Packing Hardware, Supplies, and Small Items
The small items in a workshop — screws, bolts, nails, washers, drill bits, router bits, sandpaper, adhesives, finishing supplies — are easy to underestimate until you try to find any of them at the new space and cannot. A few straightforward strategies make the difference between a workshop that is back to functional in a day and one you are still sorting out a month later.
Keep existing organization intact where possible
If hardware is stored in a parts organizer with labeled compartments, close it, tape the lid shut, and pack it as a unit. Do not consolidate sorted hardware into a single container to save space. The time you spend resorting everything at the destination will far exceed the small amount of space you saved in the truck.
Seal jars and containers before packing
Any jar with a lid — whether it holds finishing nails or wood screws — should be sealed with a strip of tape across the lid before going in a box. Jars that open in transit create a hardware recovery project that nobody wants to deal with on moving day.
Address hazardous materials early
Workshops typically contain items that cannot legally or safely be transported by a moving company: paint thinner, acetone, contact cement, aerosol spray finishes, and similar flammable or caustic materials. Do an honest audit of what you have at least two weeks before your move date. Use up what you can. Give away what you cannot. Dispose of the rest through your municipality's hazardous waste collection program.
Packing Workbenches and Workshop Furniture
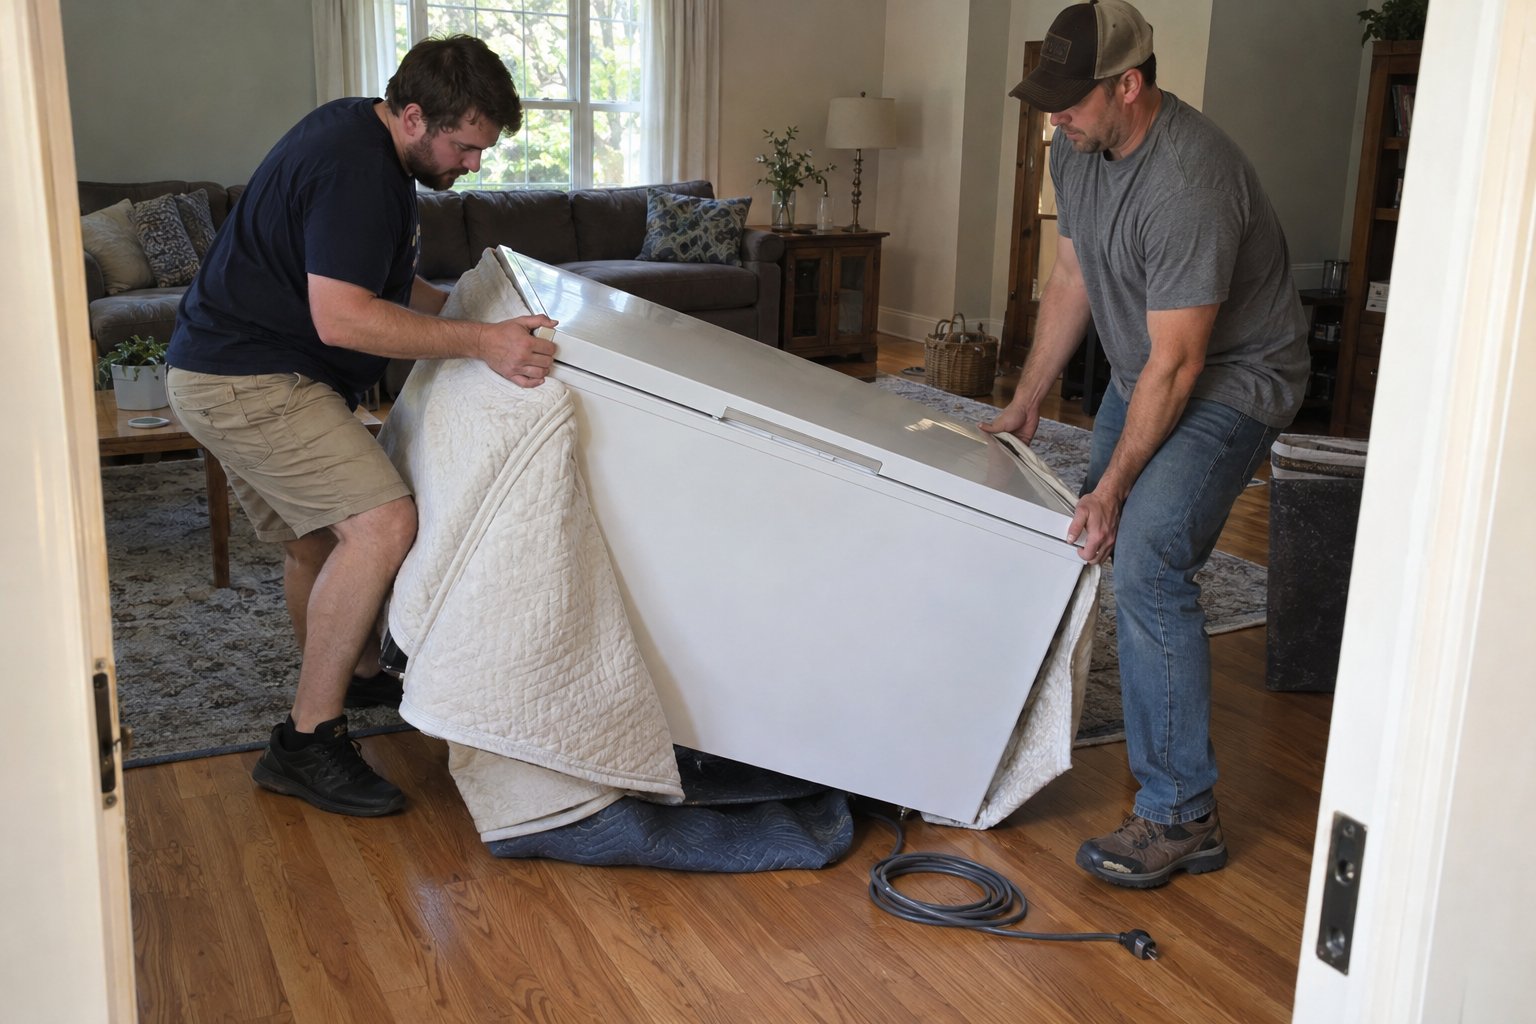
The workbench is usually the largest and heaviest single item in a workshop, and moving it requires a different approach than moving household furniture.
Clear and clean the surface completely
A workbench that goes into the truck with items still on it — vises left open, clamps attached, tools resting on the shelf below — is a workbench that arrives damaged or that damages other items in the truck. Clear everything, close all vises and clamps, and clean the surface before it moves.
Assess whether disassembly is necessary
Some workbenches disassemble easily and should be taken apart for transport. Others are heavy enough and rigid enough to move as a unit — but only with enough people and the right equipment. A good rule of thumb: if two people cannot comfortably lift and carry it with control, it should either be disassembled or moved with professional equipment and additional hands.
Protect the surface
Even a well-used workbench deserves surface protection during a move. Cover the top with moving blankets or heavy cardboard secured with moving wrap. Corners and legs — the most vulnerable points — benefit from additional padding.
Setting Up Your Workshop at the New Home
The work does not end when the truck is unloaded. How you approach the first few days in the new workshop will determine how quickly you get back to full productivity.
Start with infrastructure: verify that outlets are working and properly rated for your equipment, confirm ventilation is adequate for your finishing work, and get the workbench in position before anything else is unpacked. Once the anchor point is in place, use your photographs to guide tool placement — not memory, which becomes surprisingly unreliable after the chaos of moving day.
Unpack by category, working from the tools you use most to the tools you use least. This approach gets you operational quickly without requiring that the entire workshop be sorted before you can start working again.
If the layout of the new space does not perfectly mirror the old one — and it rarely does — resist the urge to replicate your previous arrangement exactly. Use the move as an opportunity to refine the system, fix the things that never quite worked, and build a workshop that fits the new space better than your old one ever did.
Frequently Asked Questions
How far in advance should I start packing my workshop before a move?
Most workshops benefit from a four-to-six week head start. Begin with items you use infrequently — specialty tools, seasonal equipment, and duplicate supplies — and work toward the tools in daily rotation. Hazardous materials like solvents and aerosols should be assessed and dealt with at least two weeks before your move date, since they cannot be transported by most professional moving companies.
Can a moving company transport my power tools and workshop equipment?
Most professional movers can transport power tools and heavy stationary equipment, but you should discuss these items during the quoting process. Large or unusual equipment — table saws, drill presses, lathes — may require special handling, additional crew, or equipment like appliance dollies and furniture straps. What movers cannot transport are hazardous materials: flammable liquids, aerosols, and certain adhesives. These need to be handled separately before moving day.
What is the best way to keep small hardware organized during a move?
The best approach is to keep existing organization intact rather than consolidating. If hardware is sorted in a multi-compartment parts organizer, tape the lid shut and move it as a unit. Jars of screws or nails should be sealed with tape across the lid before packing. Label every container clearly on the top and side so you can find specific hardware without opening every box at the destination.
How should I handle lithium-ion batteries from cordless tools during a move?
Remove all battery packs from cordless tools before loading them onto the moving truck. Lithium-ion batteries are generally considered hazardous for transport purposes and are best moved in your personal vehicle in a cool, dry location. Check with your specific moving company about their policies before packing day, as guidelines can vary.
What should I photograph before packing up my workshop?
Photograph every pegboard and tool wall from multiple angles, every labeled drawer or cabinet opened to show contents, the workbench and surrounding area, and any power tool setups with attachments in place. Also photograph cable routing for fixed equipment like dust collectors and air compressors. Store these images somewhere accessible on your phone so you can reference them during reassembly without digging through boxes.
Knowing how to pack a workshop for moving is one of those tasks that looks manageable on the surface — right up until you pull open the first drawer and realize you have been collecting tools, hardware, and half-finished projects for years. A workshop is not like a bedroom or a living room. The furniture is not the hard part. The hard part is the wall of pegboards holding sixty tools in an arrangement only you understand, the shelving units dense with jars of screws sorted by size, the power tools that are heavy, oddly shaped, and worth serious money, and the workbench that has probably not moved since the day it was installed. It does not have to go that way.
If you would rather have experienced professionals handle the heavy lifting while you focus on keeping your household running, call our team at 719-357-9048 to lock in your move date.
Whether your workshop is a fully outfitted garage space with a table saw, drill press, and dedicated lumber storage, a basement woodworking studio lined with cabinets and a dust collection system, or a compact hobby workbench in a spare room with a collection of hand tools and supplies — the strategy below will walk you through every category, from your heaviest equipment to your smallest hardware, so everything arrives safely, organized, and ready to get back to work.
Why Packing a Workshop Goes Wrong More Often Than It Should
A workshop is one of the most consistently underestimated packing challenges in any household move. The space looks utilitarian — tools hang on walls, supplies sit on shelves, everything seems like it just needs to be put in boxes. That impression is misleading. Workshops are extraordinarily dense with items that are hazardous to pack incorrectly, expensive to replace if damaged, and genuinely difficult to reassemble at the destination without a clear system.
Three specific patterns cause the majority of workshop packing failures:
- Treating tools like ordinary household items — Power tools, hand tools, and sharp blades cannot be tossed loosely into boxes the way books or kitchen items can. Blades damage packing materials and the people unpacking them. Motors and precision components can be knocked out of alignment by impact. Tools that arrive jumbled and scratched are tools that may not work the way they should.
- Ignoring hazardous materials until the last minute — Workshops routinely contain flammable liquids, aerosol cans, partially used solvents, and lithium-ion batteries in power tool packs. Moving companies are legally prohibited from transporting many of these items, and packing them alongside other belongings creates a genuine safety risk. These materials need to be identified, assessed, and dealt with well before moving day.
- Losing the system that made the workshop function — The layout of a workshop is not arbitrary. Where tools hang, how hardware is sorted, and what lives within arm's reach of the workbench reflects a working system that took time to build. When that system is dismantled without documentation, reassembly at the new space becomes a multi-day frustration project rather than a straightforward setup.
The solution is to treat your workshop as the specialized space it is — not just another room to box up, but an organized professional environment that deserves a deliberate, category-by-category packing approach.
How to Start: Photograph and Document Before You Touch Anything
Before you remove a single tool from a pegboard or empty a single bin of hardware, spend twenty to thirty minutes documenting the workshop exactly as it currently exists. This step is not optional — it is the foundation of a successful workshop reassembly.
What to photograph
- Every wall, pegboard, and tool storage panel from multiple angles
- Each labeled drawer, bin, or cabinet, opened so the contents are visible
- The workbench surface and the area immediately around it
- Power tool setups with any attachments or jigs in place
- Cable and cord routing for fixed equipment like dust collectors or air compressors
Store these photos somewhere you can access on your phone during the move — not just on a hard drive packed in a box. They will save you hours of guesswork when you start setting up in the new space.
Create a rough floor plan for the new workshop
If you already have a sense of the space you are moving into, sketch a rough layout before you pack. Knowing where the workbench will go, where the primary tool storage will live, and where outlets and lighting are located will help you pack with the new setup already in mind.
Packing Hand Tools: Organization First, Protection Second
Hand tools are the backbone of most workshops, and they are also among the most straightforward items to pack — provided you approach them systematically.
Sort before you box
Use the move as an opportunity to assess your hand tool inventory. Sort tools into three categories: tools you use regularly, tools you use occasionally, and tools you have not touched in years. The third category is a candidate for sale, donation, or disposal before the move. Fewer items moving equals less to reassemble at the destination.
Protect cutting edges
Any tool with a blade — chisels, plane irons, saw blades, utility knives, marking knives — needs its edge protected before packing. Use blade guards where you have them. Wrap unguarded edges in cardboard and secure with tape. Never pack sharp tools loose where hands will reach in without looking.
Group by category, not by size
Pack measuring tools together. Pack striking tools together. Pack layout and marking tools together. This grouping mirrors the organizational logic of most workshops and makes unpacking and reshelving significantly faster than randomly sized boxes of mixed items.
Use sturdy, appropriately weighted boxes
Tools are dense. A medium-sized box packed with wrenches and pliers will be extremely heavy. Use smaller boxes for dense metal tools and save larger boxes for lighter items like clamps, levels, and extension cords. Label every box with contents and weight category on the top and at least one side.
Packing Power Tools: Safety, Protection, and Documentation
Power tools represent a significant financial investment and require more care than hand tools during a move. The goal is to protect the tool itself, protect the people handling it, and ensure you arrive at the destination knowing exactly what you have and where it belongs.
Use original packaging where possible
If you have kept the original cases or boxes for your power tools, moving day is the moment that habit pays off. Original packaging is designed specifically for the tool's dimensions and weight distribution. If original packaging is not available, a sturdy box with at least two inches of padding on all sides — foam, moving blankets, or tightly crumpled packing paper — provides a reasonable substitute.
Remove batteries before packing
Remove all battery packs from cordless tools before loading them on the truck. Lithium-ion batteries should be packed separately in a cool, dry location — ideally transported in your personal vehicle rather than the moving truck. Check with your moving company about their specific policies before packing day.
Secure cords and accessories
Wrap power cords loosely and secure them with a twist tie or Velcro strap — never wrap them tightly around the tool body, which stresses the cord at the connection point. Pack any included accessories, bits, blades, and attachments in a labeled bag taped to the tool's box so nothing goes missing.
Large stationary tools need special handling
Table saws, band saws, drill presses, lathes, and similar stationary equipment are in a different category entirely. These tools are heavy, often require disassembly, and may need to be secured with specific tie-down points during transport. If you are working with a professional moving company, discuss these items during the quoting process so the team arrives with the right equipment and enough hands.
Packing Hardware, Supplies, and Small Items
The small items in a workshop — screws, bolts, nails, washers, drill bits, router bits, sandpaper, adhesives, finishing supplies — are easy to underestimate until you try to find any of them at the new space and cannot. A few straightforward strategies make the difference between a workshop that is back to functional in a day and one you are still sorting out a month later.
Keep existing organization intact where possible
If hardware is stored in a parts organizer with labeled compartments, close it, tape the lid shut, and pack it as a unit. Do not consolidate sorted hardware into a single container to save space. The time you spend resorting everything at the destination will far exceed the small amount of space you saved in the truck.
Seal jars and containers before packing
Any jar with a lid — whether it holds finishing nails or wood screws — should be sealed with a strip of tape across the lid before going in a box. Jars that open in transit create a hardware recovery project that nobody wants to deal with on moving day.
Address hazardous materials early
Workshops typically contain items that cannot legally or safely be transported by a moving company: paint thinner, acetone, contact cement, aerosol spray finishes, and similar flammable or caustic materials. Do an honest audit of what you have at least two weeks before your move date. Use up what you can. Give away what you cannot. Dispose of the rest through your municipality's hazardous waste collection program.
Packing Workbenches and Workshop Furniture
The workbench is usually the largest and heaviest single item in a workshop, and moving it requires a different approach than moving household furniture.
Clear and clean the surface completely
A workbench that goes into the truck with items still on it — vises left open, clamps attached, tools resting on the shelf below — is a workbench that arrives damaged or that damages other items in the truck. Clear everything, close all vises and clamps, and clean the surface before it moves.
Assess whether disassembly is necessary
Some workbenches disassemble easily and should be taken apart for transport. Others are heavy enough and rigid enough to move as a unit — but only with enough people and the right equipment. A good rule of thumb: if two people cannot comfortably lift and carry it with control, it should either be disassembled or moved with professional equipment and additional hands.
Protect the surface
Even a well-used workbench deserves surface protection during a move. Cover the top with moving blankets or heavy cardboard secured with moving wrap. Corners and legs — the most vulnerable points — benefit from additional padding.
Setting Up Your Workshop at the New Home
The work does not end when the truck is unloaded. How you approach the first few days in the new workshop will determine how quickly you get back to full productivity.
Start with infrastructure: verify that outlets are working and properly rated for your equipment, confirm ventilation is adequate for your finishing work, and get the workbench in position before anything else is unpacked. Once the anchor point is in place, use your photographs to guide tool placement — not memory, which becomes surprisingly unreliable after the chaos of moving day.
Unpack by category, working from the tools you use most to the tools you use least. This approach gets you operational quickly without requiring that the entire workshop be sorted before you can start working again.
If the layout of the new space does not perfectly mirror the old one — and it rarely does — resist the urge to replicate your previous arrangement exactly. Use the move as an opportunity to refine the system, fix the things that never quite worked, and build a workshop that fits the new space better than your old one ever did.
Have Questions About Your Move?
How far in advance should I start packing my workshop before a move?
Most workshops benefit from a four-to-six week head start. Begin with items you use infrequently — specialty tools, seasonal equipment, and duplicate supplies — and work toward the tools in daily rotation. Hazardous materials like solvents and aerosols should be assessed and dealt with at least two weeks before your move date, since they cannot be transported by most professional moving companies.
Can a moving company transport my power tools and workshop equipment?
Most professional movers can transport power tools and heavy stationary equipment, but you should discuss these items during the quoting process. Large or unusual equipment — table saws, drill presses, lathes — may require special handling, additional crew, or equipment like appliance dollies and furniture straps. What movers cannot transport are hazardous materials: flammable liquids, aerosols, and certain adhesives. These need to be handled separately before moving day.
What is the best way to keep small hardware organized during a move?
The best approach is to keep existing organization intact rather than consolidating. If hardware is sorted in a multi-compartment parts organizer, tape the lid shut and move it as a unit. Jars of screws or nails should be sealed with tape across the lid before packing. Label every container clearly on the top and side so you can find specific hardware without opening every box at the destination.
How should I handle lithium-ion batteries from cordless tools during a move?
Remove all battery packs from cordless tools before loading them onto the moving truck. Lithium-ion batteries are generally considered hazardous for transport purposes and are best moved in your personal vehicle in a cool, dry location. Check with your specific moving company about their policies before packing day, as guidelines can vary.
What should I photograph before packing up my workshop?
Photograph every pegboard and tool wall from multiple angles, every labeled drawer or cabinet opened to show contents, the workbench and surrounding area, and any power tool setups with attachments in place. Also photograph cable routing for fixed equipment like dust collectors and air compressors. Store these images somewhere accessible on your phone so you can reference them during reassembly without digging through boxes.