Home Gym Moving Costs: Protecting Your Equipment
Step-by-step guide to packing a home gym for moving — from disassembling large equipment to safely boxing weights and planning your truck load.
Knowing how to pack a home gym for moving is one of those tasks that catches people completely off guard. The equipment looked manageable when you bought it piece by piece. But the moment you stand in that room on moving week and actually look at what you have accumulated — a squat rack bolted to the floor, a treadmill the size of a small car, a set of dumbbells that weighs more than most people, resistance bands tangled around everything — it stops looking manageable very quickly. It does not have to go that way.
If you would rather have experienced professionals handle the heavy lifting while you focus on keeping your household running, call our team at 719-357-9048 to lock in your move date.
Whether your home gym is a fully outfitted basement setup with a power rack and cable machine, a spare bedroom with a treadmill and a set of adjustable dumbbells, or a garage corner with rubber flooring, kettlebells, and a pull-up bar mounted to the wall — the strategy below will walk you through every category, from your heaviest machines to your smallest accessories, so everything arrives intact, organized, and ready to reassemble.
Why Packing a Home Gym Goes Wrong More Often Than It Should
The home gym is one of the most consistently underestimated spaces in any household move. People either overestimate how quickly they can break it down or simply avoid thinking about it until the last possible moment — and both approaches lead to the same result: rushed disassembly, missing hardware, damaged equipment, and a moving truck that either cannot accommodate the load or gets packed in a way that puts heavy pieces at risk during transit.
Three specific patterns cause the majority of home gym packing failures:
- Skipping disassembly documentation — Large equipment like power racks, cable machines, and adjustable benches come apart in specific ways. Without photos or notes taken before disassembly begins, reassembly at the new home becomes a guessing game. Bolts end up in the wrong bags. Rails go on backwards. Hours disappear trying to reconstruct something that should have taken twenty minutes.
- Treating weights like any other box item — Iron and cast iron are dense, unforgiving, and brutally heavy. Packing too many plates into a single box creates a weight that no one can safely lift and that will tear through the bottom of any standard moving box. Weight plates and dumbbells need their own specific packing strategy — not just a box and a hope.
- Ignoring the flooring and the accessories — Rubber gym flooring tiles, resistance bands, jump ropes, foam rollers, and all the small accessories that live in a home gym are easy to overlook because they seem minor. But they take up real space, they scatter easily, and they are often the hardest things to find during unpacking if they were not grouped and labeled deliberately.
The fix is a structured approach that begins at least a week before your move — not the morning of — and treats the home gym with the same care and planning you would give to any other room in your house.
Step One: Audit the Room and Decide What Is Worth Moving
Before you touch a single piece of equipment, do a full walkthrough of your home gym and make deliberate decisions about what you are actually taking with you. Moving is a natural forcing function for evaluating whether the equipment you own still matches how you train — or whether it has become an expensive fixture you work around rather than with.
Evaluate Each Piece Honestly
Ask yourself whether each item is used regularly, whether it would cost more to replace than to move, and whether it will realistically fit your new space. A commercial-grade treadmill that weighs 300 pounds may make sense to move if your new home has a dedicated gym room with a reinforced floor. It makes a lot less sense if your new place has a small spare bedroom with carpet and no clear path for moving the machine inside.
Items that are broken, rarely used, or better replaced with something newer are often good candidates for selling before the move rather than paying to transport them. Craigslist, Facebook Marketplace, and local buy-sell-trade groups typically move gym equipment quickly — especially free weights and benches, which are always in demand.
Gather Your Supplies Before You Start
Once you know what you are taking, gather the packing materials you will need before disassembly begins. Home gym packing requires a slightly different supply list than most rooms:
- Small, heavy-duty boxes (for weight plates and dumbbells — smaller boxes keep the weight manageable)
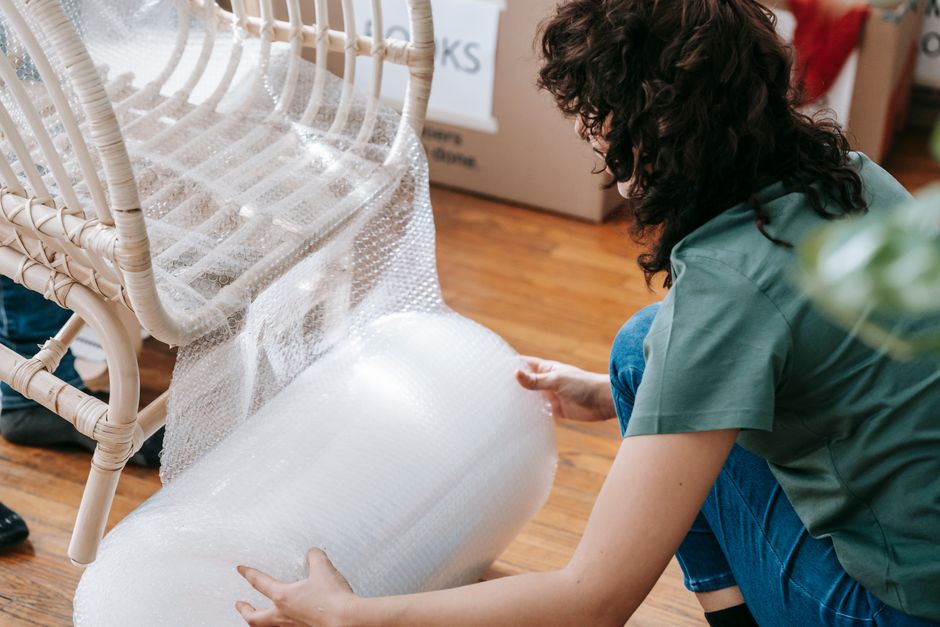
- Stretch wrap or furniture wrap blankets (for machines, benches, and frames)
- Zip-lock bags and permanent markers (for hardware, bolts, and small parts)
- Packing tape and a label marker
- A phone or camera for documentation photos
- Basic tools: Allen keys, socket set, adjustable wrench
Step Two: Document and Disassemble Your Large Equipment
Large gym equipment should be the first thing you address — not the last. These pieces take the most time, require the most care, and are the most likely to cause problems on moving day if they are not properly broken down in advance.
Photograph Everything Before You Touch It
Before removing a single bolt, take photos of every piece of equipment from multiple angles. Get close-up shots of how cables are routed on cable machines, how adjustable components connect to frames, and how any wall-mounted equipment interfaces with the mounting hardware. These photos will save you significant time and frustration during reassembly.
Power Racks and Squat Stands
Power racks are almost always modular and can be fully disassembled into flat panels and uprights. Remove all J-hooks, safety pins, and accessories first and bag them together with labeled zip-lock bags. Then unbolt the uprights from the base, separate the frame sections, and wrap each panel in furniture blankets. Keep all hardware for each piece in a clearly labeled bag taped directly to that piece's wrapping.
Treadmills and Cardio Machines
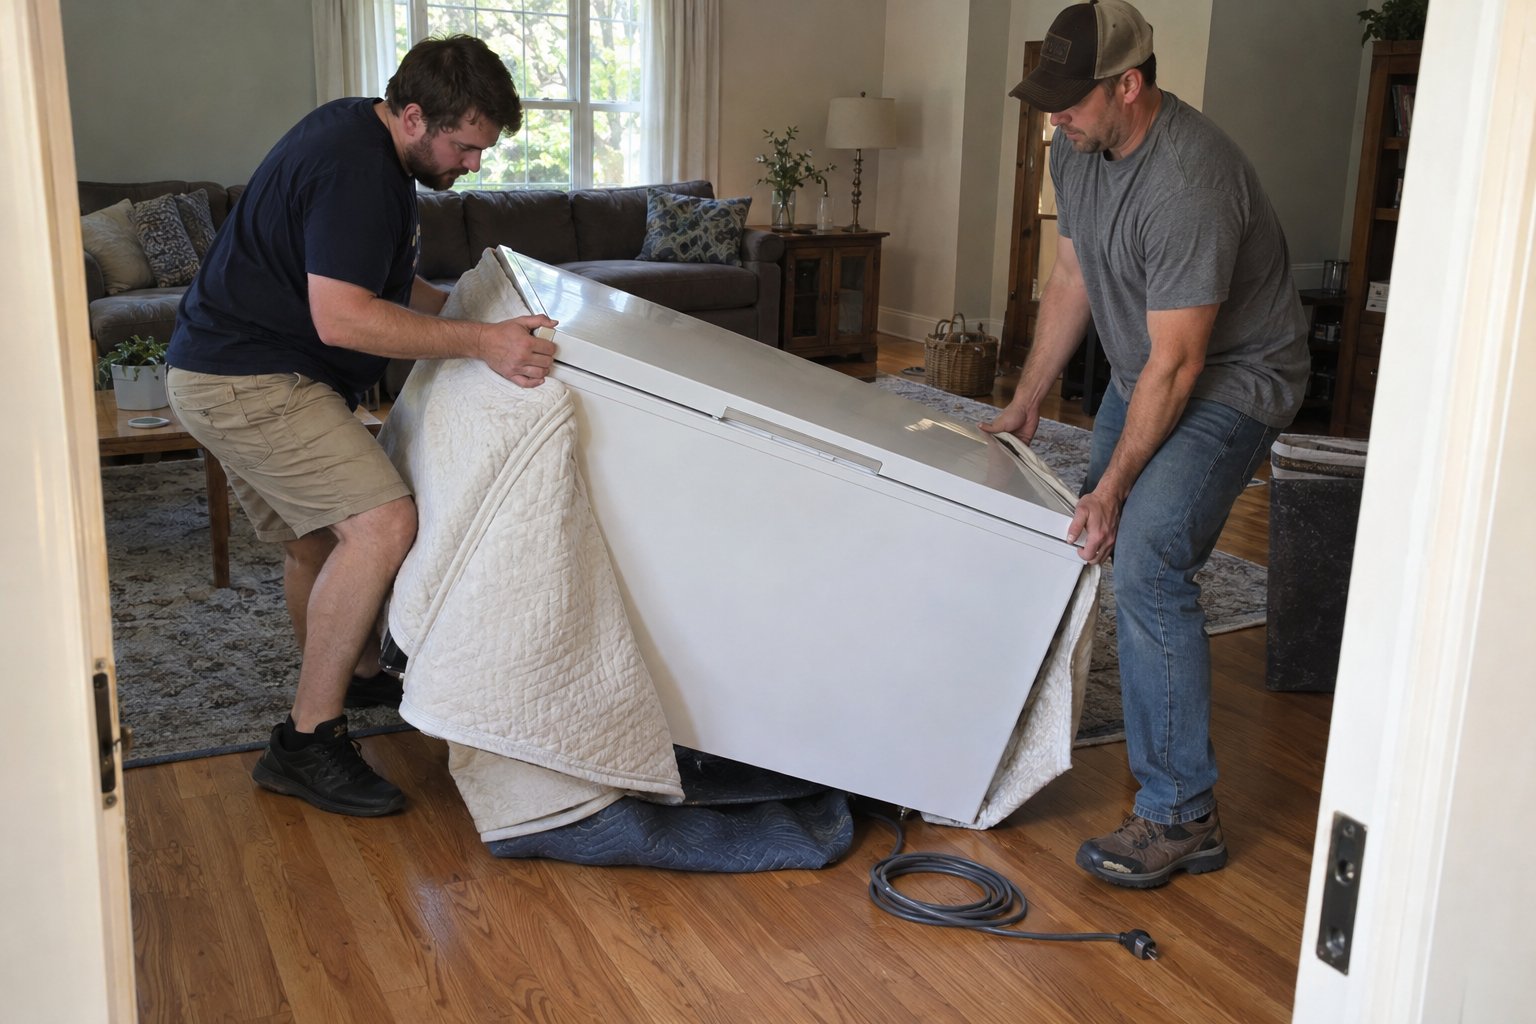
Most treadmills fold for storage, and that fold-down position is also the safest position for transport. Consult your owner's manual for the recommended transport configuration — many manufacturers specify how the machine should be positioned and whether any internal components need to be secured before moving. Wrap the console and any protruding parts with stretch wrap or blankets. Treadmills are heavy enough to require a moving dolly; never attempt to carry one up or down stairs without proper equipment and at least two people.
Cable Machines and Functional Trainers
Cable machines require extra attention because of the pulley system and cable routing. Before disassembly, photograph the cable routing from multiple angles. If the cables can be removed from the pulleys without significant effort, remove and coil them carefully. If they cannot, secure them in place with zip ties so they do not tangle or slip during transport. Remove any weight stacks if the machine allows it — transporting a cable machine with a full weight stack attached puts enormous stress on the frame.
Step Three: Pack Your Weights the Right Way
Free weights are the most physically demanding items to pack in any home gym. They are dense, heavy, and unforgiving — and they are the category most likely to result in injury or box failure if packed carelessly.
Use Small Boxes Only
This is not a guideline — it is a rule. Weight plates, dumbbells, and kettlebells should only go into small, heavy-duty boxes. A single large box full of iron plates can easily exceed 100 pounds, which makes it dangerous to lift and nearly impossible to load onto a truck without equipment. Fill each small box to a manageable weight — somewhere in the range of 40 to 50 pounds is a reasonable target — and seal it firmly with heavy packing tape on both the bottom and the seams.
Protect Finished and Rubber-Coated Weights
Rubber-coated dumbbells and hex dumbbells generally travel well without much wrapping. Cast iron plates, however, can chip, scratch, and damage other items if they shift in transit. Wrap individual plates in packing paper before boxing them, and alternate the orientation of plates in each box to distribute weight evenly.
Barbell Transport
Barbells are long, awkward, and easy to damage if not handled correctly. Ideally, they should travel horizontally and be secured so they cannot roll or shift. Many moving companies use barbell pouches or long tube containers for this purpose. If you do not have a dedicated container, wrap the shaft in stretch wrap and secure it along the length of the truck using tie-down straps. Never stand a barbell vertically in a moving truck — the needle bearings in the sleeves can be damaged by the sustained pressure of an upright position during transit.
Step Four: Handle Flooring, Accessories, and Smaller Items
Once the large equipment and weights are staged for loading, turn your attention to the flooring, accessories, and everything else in the room. These items are often the last to get packed and the hardest to find during unpacking — which makes a deliberate, organized approach here especially worthwhile.
Rubber Flooring Tiles
Interlocking rubber floor tiles are bulky and heavy in large quantities, but they pack efficiently when stacked flat and secured with stretch wrap. Clean them before packing — rubber flooring accumulates dust, chalk, and grime that will transfer to everything around it if tiles are packed dirty. Stack tiles in manageable groups, wrap each stack with stretch wrap, and load them flat on the truck floor.
Resistance Bands, Jump Ropes, and Small Accessories
Group all small accessories together in clearly labeled boxes or bins. Resistance bands should be rolled loosely rather than tightly coiled to avoid permanent stretch damage. Jump ropes can be bundled with a simple twist tie. Foam rollers, medicine balls, and balance equipment can go into a single accessories box as long as the weight stays manageable and fragile items are wrapped individually.
Supplements and Nutrition Products
If you store supplements in your gym, pack them carefully. Protein powder tubs should be sealed and upright. Pre-workout and other powder supplements should be checked for open seals before packing — an open container that tips over in transit will make a mess of everything around it. Consider packing supplements in a separate clearly labeled box so they are easy to locate at the new home without unpacking the entire gym.
Step Five: Plan the Load Order and the New Space Before Moving Day
Home gym equipment is some of the heaviest and most awkward cargo in any moving truck. Loading it thoughtfully — and knowing where it is going in your new home before moving day — will save you a significant amount of time and effort.
Load Heavy Equipment Last, Unload First
Weight plates and gym equipment should go on the truck last so they can come off first at the destination. Gym equipment is almost always going to a specific room — a basement, a garage, or a dedicated flex space — and getting it off the truck and into that room early in the unloading process means it will not be blocking access to the rest of the truck while your movers try to navigate around it.
Measure Your New Space in Advance
Before moving day, get the dimensions of your new gym space and compare them against the footprint of your major equipment pieces. A power rack that fit comfortably in a 12-by-14-foot basement room may not fit the same way in a 10-by-12-foot spare bedroom. Know this before the truck arrives — not after — so you can make any necessary layout adjustments without holding up the entire move.
Moving a home gym is genuinely one of the more complex packing and logistics challenges in a residential move. But with the right preparation, the right materials, and a clear plan, it is entirely manageable — and your equipment will arrive at your new home in the same condition it left your old one. If you would prefer to hand the heavy work off to a team that does this every day, get a free quote from Men on Mission and let us take it from there.
Frequently Asked Questions
How far in advance should I start packing my home gym before a move?
Ideally, you should begin planning and staging your home gym at least one to two weeks before your move date. Large equipment like power racks and cable machines can take several hours to disassemble properly, and you will want time to source any hardware you are missing, document reassembly steps, and arrange for proper moving equipment like dollies or straps. Starting early also gives you time to sell any equipment you decide not to take with you.
Can I move a treadmill by myself or do I need professional movers?
Most treadmills weigh between 150 and 350 pounds and require at least two people and a heavy-duty appliance dolly to move safely. Attempting to carry a treadmill without proper equipment is a common cause of back injuries during moves. If your new home has stairs, a narrow hallway, or tight corners, professional movers with the right equipment are strongly recommended — the cost of a professional move is considerably less than the cost of an injury or a damaged machine.
What is the best way to pack weight plates and dumbbells for a move?
Always use small, heavy-duty boxes for weight plates and dumbbells. Limit each box to a manageable weight — roughly 40 to 50 pounds is a practical target — and reinforce the bottom and seams with heavy packing tape. Wrap cast iron plates individually in packing paper to prevent chipping and scratching. Rubber-coated dumbbells generally do not require individual wrapping but should still be boxed in small quantities to keep the load safe to lift.
How do I make sure I can reassemble my gym equipment at the new house?
The single most effective step is to photograph every piece of equipment from multiple angles before you begin disassembly. Pay special attention to cable routing on cable machines, how adjustable components connect, and any wall-mount configurations. Keep all hardware for each piece in individually labeled zip-lock bags taped directly to the wrapped equipment. Having your owner's manuals available — either physical copies or downloaded PDFs — will also make reassembly significantly faster.
Should I disassemble all gym equipment before the movers arrive?
Yes, in most cases you should have all large equipment fully disassembled before your moving crew arrives. Movers can assist with wrapping, loading, and transport, but disassembly typically falls to the homeowner unless you have booked a full-service packing option. Having everything broken down in advance keeps your move on schedule, reduces the risk of movers being unfamiliar with your specific equipment, and gives you control over the hardware and documentation process.
Knowing how to pack a home gym for moving is one of those tasks that catches people completely off guard. The equipment looked manageable when you bought it piece by piece. But the moment you stand in that room on moving week and actually look at what you have accumulated — a squat rack bolted to the floor, a treadmill the size of a small car, a set of dumbbells that weighs more than most people, resistance bands tangled around everything — it stops looking manageable very quickly. It does not have to go that way.
If you would rather have experienced professionals handle the heavy lifting while you focus on keeping your household running, call our team at 719-357-9048 to lock in your move date.
Whether your home gym is a fully outfitted basement setup with a power rack and cable machine, a spare bedroom with a treadmill and a set of adjustable dumbbells, or a garage corner with rubber flooring, kettlebells, and a pull-up bar mounted to the wall — the strategy below will walk you through every category, from your heaviest machines to your smallest accessories, so everything arrives intact, organized, and ready to reassemble.
Why Packing a Home Gym Goes Wrong More Often Than It Should
The home gym is one of the most consistently underestimated spaces in any household move. People either overestimate how quickly they can break it down or simply avoid thinking about it until the last possible moment — and both approaches lead to the same result: rushed disassembly, missing hardware, damaged equipment, and a moving truck that either cannot accommodate the load or gets packed in a way that puts heavy pieces at risk during transit.
Three specific patterns cause the majority of home gym packing failures:
- Skipping disassembly documentation — Large equipment like power racks, cable machines, and adjustable benches come apart in specific ways. Without photos or notes taken before disassembly begins, reassembly at the new home becomes a guessing game. Bolts end up in the wrong bags. Rails go on backwards. Hours disappear trying to reconstruct something that should have taken twenty minutes.
- Treating weights like any other box item — Iron and cast iron are dense, unforgiving, and brutally heavy. Packing too many plates into a single box creates a weight that no one can safely lift and that will tear through the bottom of any standard moving box. Weight plates and dumbbells need their own specific packing strategy — not just a box and a hope.
- Ignoring the flooring and the accessories — Rubber gym flooring tiles, resistance bands, jump ropes, foam rollers, and all the small accessories that live in a home gym are easy to overlook because they seem minor. But they take up real space, they scatter easily, and they are often the hardest things to find during unpacking if they were not grouped and labeled deliberately.
The fix is a structured approach that begins at least a week before your move — not the morning of — and treats the home gym with the same care and planning you would give to any other room in your house.
Step One: Audit the Room and Decide What Is Worth Moving
Before you touch a single piece of equipment, do a full walkthrough of your home gym and make deliberate decisions about what you are actually taking with you. Moving is a natural forcing function for evaluating whether the equipment you own still matches how you train — or whether it has become an expensive fixture you work around rather than with.
Evaluate Each Piece Honestly
Ask yourself whether each item is used regularly, whether it would cost more to replace than to move, and whether it will realistically fit your new space. A commercial-grade treadmill that weighs 300 pounds may make sense to move if your new home has a dedicated gym room with a reinforced floor. It makes a lot less sense if your new place has a small spare bedroom with carpet and no clear path for moving the machine inside.
Items that are broken, rarely used, or better replaced with something newer are often good candidates for selling before the move rather than paying to transport them. Craigslist, Facebook Marketplace, and local buy-sell-trade groups typically move gym equipment quickly — especially free weights and benches, which are always in demand.
Gather Your Supplies Before You Start
Once you know what you are taking, gather the packing materials you will need before disassembly begins. Home gym packing requires a slightly different supply list than most rooms:
- Small, heavy-duty boxes (for weight plates and dumbbells — smaller boxes keep the weight manageable)
- Stretch wrap or furniture wrap blankets (for machines, benches, and frames)
- Zip-lock bags and permanent markers (for hardware, bolts, and small parts)
- Packing tape and a label marker
- A phone or camera for documentation photos
- Basic tools: Allen keys, socket set, adjustable wrench
Step Two: Document and Disassemble Your Large Equipment
Large gym equipment should be the first thing you address — not the last. These pieces take the most time, require the most care, and are the most likely to cause problems on moving day if they are not properly broken down in advance.
Photograph Everything Before You Touch It
Before removing a single bolt, take photos of every piece of equipment from multiple angles. Get close-up shots of how cables are routed on cable machines, how adjustable components connect to frames, and how any wall-mounted equipment interfaces with the mounting hardware. These photos will save you significant time and frustration during reassembly.
Power Racks and Squat Stands
Power racks are almost always modular and can be fully disassembled into flat panels and uprights. Remove all J-hooks, safety pins, and accessories first and bag them together with labeled zip-lock bags. Then unbolt the uprights from the base, separate the frame sections, and wrap each panel in furniture blankets. Keep all hardware for each piece in a clearly labeled bag taped directly to that piece's wrapping.
Treadmills and Cardio Machines
Most treadmills fold for storage, and that fold-down position is also the safest position for transport. Consult your owner's manual for the recommended transport configuration — many manufacturers specify how the machine should be positioned and whether any internal components need to be secured before moving. Wrap the console and any protruding parts with stretch wrap or blankets. Treadmills are heavy enough to require a moving dolly; never attempt to carry one up or down stairs without proper equipment and at least two people.
Cable Machines and Functional Trainers
Cable machines require extra attention because of the pulley system and cable routing. Before disassembly, photograph the cable routing from multiple angles. If the cables can be removed from the pulleys without significant effort, remove and coil them carefully. If they cannot, secure them in place with zip ties so they do not tangle or slip during transport. Remove any weight stacks if the machine allows it — transporting a cable machine with a full weight stack attached puts enormous stress on the frame.
Step Three: Pack Your Weights the Right Way
Free weights are the most physically demanding items to pack in any home gym. They are dense, heavy, and unforgiving — and they are the category most likely to result in injury or box failure if packed carelessly.
Use Small Boxes Only
This is not a guideline — it is a rule. Weight plates, dumbbells, and kettlebells should only go into small, heavy-duty boxes. A single large box full of iron plates can easily exceed 100 pounds, which makes it dangerous to lift and nearly impossible to load onto a truck without equipment. Fill each small box to a manageable weight — somewhere in the range of 40 to 50 pounds is a reasonable target — and seal it firmly with heavy packing tape on both the bottom and the seams.
Protect Finished and Rubber-Coated Weights
Rubber-coated dumbbells and hex dumbbells generally travel well without much wrapping. Cast iron plates, however, can chip, scratch, and damage other items if they shift in transit. Wrap individual plates in packing paper before boxing them, and alternate the orientation of plates in each box to distribute weight evenly.
Barbell Transport
Barbells are long, awkward, and easy to damage if not handled correctly. Ideally, they should travel horizontally and be secured so they cannot roll or shift. Many moving companies use barbell pouches or long tube containers for this purpose. If you do not have a dedicated container, wrap the shaft in stretch wrap and secure it along the length of the truck using tie-down straps. Never stand a barbell vertically in a moving truck — the needle bearings in the sleeves can be damaged by the sustained pressure of an upright position during transit.
Step Four: Handle Flooring, Accessories, and Smaller Items
Once the large equipment and weights are staged for loading, turn your attention to the flooring, accessories, and everything else in the room. These items are often the last to get packed and the hardest to find during unpacking — which makes a deliberate, organized approach here especially worthwhile.
Rubber Flooring Tiles
Interlocking rubber floor tiles are bulky and heavy in large quantities, but they pack efficiently when stacked flat and secured with stretch wrap. Clean them before packing — rubber flooring accumulates dust, chalk, and grime that will transfer to everything around it if tiles are packed dirty. Stack tiles in manageable groups, wrap each stack with stretch wrap, and load them flat on the truck floor.
Resistance Bands, Jump Ropes, and Small Accessories
Group all small accessories together in clearly labeled boxes or bins. Resistance bands should be rolled loosely rather than tightly coiled to avoid permanent stretch damage. Jump ropes can be bundled with a simple twist tie. Foam rollers, medicine balls, and balance equipment can go into a single accessories box as long as the weight stays manageable and fragile items are wrapped individually.
Supplements and Nutrition Products
If you store supplements in your gym, pack them carefully. Protein powder tubs should be sealed and upright. Pre-workout and other powder supplements should be checked for open seals before packing — an open container that tips over in transit will make a mess of everything around it. Consider packing supplements in a separate clearly labeled box so they are easy to locate at the new home without unpacking the entire gym.
Step Five: Plan the Load Order and the New Space Before Moving Day
Home gym equipment is some of the heaviest and most awkward cargo in any moving truck. Loading it thoughtfully — and knowing where it is going in your new home before moving day — will save you a significant amount of time and effort.
Load Heavy Equipment Last, Unload First
Weight plates and gym equipment should go on the truck last so they can come off first at the destination. Gym equipment is almost always going to a specific room — a basement, a garage, or a dedicated flex space — and getting it off the truck and into that room early in the unloading process means it will not be blocking access to the rest of the truck while your movers try to navigate around it.
Measure Your New Space in Advance
Before moving day, get the dimensions of your new gym space and compare them against the footprint of your major equipment pieces. A power rack that fit comfortably in a 12-by-14-foot basement room may not fit the same way in a 10-by-12-foot spare bedroom. Know this before the truck arrives — not after — so you can make any necessary layout adjustments without holding up the entire move.
Moving a home gym is genuinely one of the more complex packing and logistics challenges in a residential move. But with the right preparation, the right materials, and a clear plan, it is entirely manageable — and your equipment will arrive at your new home in the same condition it left your old one. If you would prefer to hand the heavy work off to a team that does this every day, get a free quote from Men on Mission and let us take it from there.
Have Questions About Your Move?
How far in advance should I start packing my home gym before a move?
Ideally, you should begin planning and staging your home gym at least one to two weeks before your move date. Large equipment like power racks and cable machines can take several hours to disassemble properly, and you will want time to source any hardware you are missing, document reassembly steps, and arrange for proper moving equipment like dollies or straps. Starting early also gives you time to sell any equipment you decide not to take with you.
Can I move a treadmill by myself or do I need professional movers?
Most treadmills weigh between 150 and 350 pounds and require at least two people and a heavy-duty appliance dolly to move safely. Attempting to carry a treadmill without proper equipment is a common cause of back injuries during moves. If your new home has stairs, a narrow hallway, or tight corners, professional movers with the right equipment are strongly recommended — the cost of a professional move is considerably less than the cost of an injury or a damaged machine.
What is the best way to pack weight plates and dumbbells for a move?
Always use small, heavy-duty boxes for weight plates and dumbbells. Limit each box to a manageable weight — roughly 40 to 50 pounds is a practical target — and reinforce the bottom and seams with heavy packing tape. Wrap cast iron plates individually in packing paper to prevent chipping and scratching. Rubber-coated dumbbells generally do not require individual wrapping but should still be boxed in small quantities to keep the load safe to lift.
How do I make sure I can reassemble my gym equipment at the new house?
The single most effective step is to photograph every piece of equipment from multiple angles before you begin disassembly. Pay special attention to cable routing on cable machines, how adjustable components connect, and any wall-mount configurations. Keep all hardware for each piece in individually labeled zip-lock bags taped directly to the wrapped equipment. Having your owner's manuals available — either physical copies or downloaded PDFs — will also make reassembly significantly faster.
Should I disassemble all gym equipment before the movers arrive?
Yes, in most cases you should have all large equipment fully disassembled before your moving crew arrives. Movers can assist with wrapping, loading, and transport, but disassembly typically falls to the homeowner unless you have booked a full-service packing option. Having everything broken down in advance keeps your move on schedule, reduces the risk of movers being unfamiliar with your specific equipment, and gives you control over the hardware and documentation process.